
Stopping Rogue DHCP with Snooping
Stop rogue DHCP servers from hijacking your local area network. Configure Cisco DHCP Snooping by defining trusted uplink ports and untrusted access ports to block man-in-the-middle attacks.
The Dynamic Host Configuration Protocol (DHCP) is wonderfully convenient, but by default, it is completely trusting and utterly blind to security threats. When an employee boots their computer in the morning, the machine sends out a blind broadcast packet: Help! Can someone please give me an IP address and tell me who my default gateway router is? Under standard Ethernet switching rules, the client computer will happily accept whichever server replies first.
This blind trust creates an opening for a classic cyberattack known as a Rogue DHCP Server. An attacker connects an unauthorized wireless router into an open office wall jack or runs rogue DHCP daemon software on their laptop. When legitimate workstations ask for an IP, the attacker rogue server replies faster than the legitimate corporate router, assigning clients a fake default gateway that routes all company traffic straight through the attacker laptop for eavesdropping.
Deploying DHCP Snooping transforms the switch into an active Layer 2 security boundary. By enforcing trusted uplinks for verified server daemons and designating all edge access ports as untrusted, the switch drops illicit offers while constructing a binding database of legitimate host addresses.
Network Architecture Plan
| Segment | Interface | Subnet / Address | Functional Role |
|---|---|---|---|
| Corporate Gateway Router | GigabitEthernet0/0/0 | 192.168.1.1/24 | Legitimate authorized DHCP Server allocating 192.168.1.100-200 |
| Distribution Switch | FastEthernet0/1 - 0/24 | VLAN 1 (Snooping Active) | Enforces trusted vs untrusted DHCP snooping inspection |
| Rogue Attacker Laptop | FastEthernet0 | 192.168.1.99/24 | Malicious rogue DHCP server attempting to push fake gateway 192.168.1.99 |
| Employee Workstation | FastEthernet0 | DHCP Client Endpoint | Legitimate workstation requesting IP configuration |
DORA Mechanics Rogue Risks
To understand how an attacker can hijack a corporate local network, we must first examine the four-step handshake known as the DORA process (Discover, Offer, Request, Acknowledge).
The primary vulnerability is that standard DHCP clients accept the first valid DHCPOFFER packet they receive. If an attacker connects a laptop or a misconfigured consumer router running a rogue DHCP server on port Fa0/2, its offer packet often arrives faster than the offer from the busy corporate router.
The victim computer accepts the rogue parameters, setting its default gateway to the attacker IP address (`192.168.1.99`). The attacker can now intercept, inspect, and manipulate all outgoing traffic before forwarding it to the real gateway, executing a classic man-in-the-middle attack.
Real-world field story: A marketing manager brought a personal Wi-Fi router from home and accidentally plugged the office Ethernet cable into the router LAN port instead of WAN. Its built-in DHCP server began handing out 192.168.0.1 gateways to nearby workstations until DHCP Snooping was deployed to isolate the port.
Enabling Global DHCP Snooping
To protect our network against rogue DHCP servers, we activate Cisco DHCP Snooping on the Distribution Switch. DHCP Snooping acts as a Layer 2 packet inspection firewall, examining DHCP messages passing through switch ports.
First, enable the feature globally with the ip dhcp snooping command. This commands the switch CPU and hardware forwarding ASIC to begin intercepting DHCP control messages on UDP ports 67 and 68.
Next, specify which VLANs should be protected by running ip dhcp snooping vlan 1. The moment you enable snooping on a VLAN, the switch operating system immediately marks every single switch port on that VLAN as untrusted by default.
On an untrusted port, the switch allows client messages (DHCPDISCOVER and DHCPREQUEST) to pass through normally. However, if a server message (DHCPOFFER, DHCPACK, or DHCPNAK) arrives on an untrusted port, the switch drops the packet immediately.
Finally, enter no ip dhcp snooping information option to disable Cisco default Option 82 insertion. On pure access layer switches connected directly to a router without DHCP relay agents, inserting Option 82 headers can cause some routers to discard client requests.
Switch# configure terminal
# Step 1: Enable DHCP Snooping globally
Switch(config)# ip dhcp snooping
# Step 2: Enforce snooping inspection across local VLAN 1
Switch(config)# ip dhcp snooping vlan 1
# Step 3: Disable Option 82 insertion on access layer
Switch(config)# no ip dhcp snooping information option
Switch(config)# exit
Analyzing the global configuration commands:
ip dhcp snooping: Activates the Layer 2 DHCP inspection engine within the switch operating system.ip dhcp snooping vlan 1: Enforces active inspection on all ports assigned to VLAN 1. Every port defaults to an untrusted state.no ip dhcp snooping information option: Prevents the switch from appending DHCP Option 82 (relay agent information) to client broadcast frames. Direct-connected routers that do not expect Option 82 from non-relay subnets will reject discovery packets unless this setting is disabled or the router is explicitly configured to trust Option 82.Configuration warning: Always configure "no ip dhcp snooping information option" on access switches unless you have explicitly configured your upstream DHCP server or router to process Option 82 relay information.
Configuring Trusted Uplink Ports
Because all ports on the VLAN become untrusted the moment snooping is enabled, we must explicitly define which ports connect to verified, legitimate DHCP servers and network routers.
We designate trusted ports using the interface configuration command ip dhcp snooping trust. On our network, the legitimate Corporate Gateway Router connects to interface FastEthernet0/24.
The switch enforces strict operational rules based on port trust boundaries:
Trusted Ports: Authorized to transmit and receive all DHCP control messages, including server DHCPOFFER and DHCPACK packets. These ports connect exclusively to network routers, core uplinks, and verified DHCP servers.
Untrusted Ports: Allowed to transmit client requests (Discover, Request), but strictly forbidden from forwarding server responses (Offer, ACK, NAK). All standard workstation and conference room ports remain untrusted.
Switch# configure terminal
Switch(config)# interface FastEthernet0/24
# Authorize this port to forward server DHCPOFFER and DHCPACK packets
Switch(config-if)# ip dhcp snooping trust
Switch(config-if)# exit
Breaking down the port trust configuration:
interface FastEthernet0/24: Selects the physical uplink interface where the authorized corporate gateway router is connected.ip dhcp snooping trust: Overrides the default untrusted state for this single port. The switch ASIC is now instructed to allow server-originated DHCPOFFER and DHCPACK frames arriving on this port to be forwarded through the switch fabric.Best practice: As a rule of thumb, only configure trunk uplinks and dedicated server switch ports as trusted. User-facing access ports and edge wall jacks must always remain untrusted.
Simulating Rogue DHCP Attacks
With DHCP Snooping active and interface FastEthernet0/24 trusted, we can test our defenses against an active attack.
On the canvas, open the Employee Workstation network configuration and enable the DHCP Client. The workstation initiates the DORA process by broadcasting a DHCPDISCOVER frame on interface FastEthernet0/1.
Because FastEthernet0/1 is an untrusted port, the switch checks the packet. It sees that the frame is a legitimate client discovery request, so it forwards it across the VLAN to all ports, including trusted port Fa0/24 and rogue port Fa0/2.
Both the corporate router and the rogue attacker laptop receive the discovery and transmit DHCPOFFER packets. When the rogue laptop offer arrives on untrusted port Fa0/2, the switch ASIC inspects the UDP payload, identifies it as a server DHCPOFFER, and discards it instantly.
Only the legitimate offer from the trusted router on Fa0/24 reaches the workstation, assigning legitimate IP `192.168.1.100` and default gateway `192.168.1.1`.
Evaluating the workstation terminal output:
DDORA IP 192.168.1.100/24 GW 192.168.1.1: Confirms that the client successfully completed the DORA handshake and accepted the IP settings offered by the trusted gateway router.Security verification: Notice that the employee workstation received its IP address without any warning or interruption. From the client perspective, the rogue server simply did not exist because the switch intercepted the attack at Layer 2.
Analyzing Snooping Binding Database
Beyond dropping unauthorized offers, DHCP Snooping builds a critical in-memory security table called the DHCP Snooping Binding Database.
Each time a client receives a valid lease through a trusted port, the switch snoops on the DHCPACK packet and extracts five key data points: the client MAC address, leased IP address, lease duration in seconds, lease type, VLAN ID, and the physical interface port.
Open the CLI terminal on Distribution Switch and run show ip dhcp snooping to inspect port trust statuses, followed by show ip dhcp snooping binding to view the active binding table.
Analyzing the switch diagnostic statistics:
show ip dhcp snooping, port `FastEthernet0/24` is listed as Trusted: yes, while access ports `Fa0/1` and `Fa0/2` are listed as Trusted: no.(Rogue offers blocked: 3). This counter verifies that the switch actively intercepted and dropped three rogue DHCPOFFER frames from the attacker laptop.show ip dhcp snooping binding, the switch records the legitimate host binding: MAC address 00:1B:44:11:3A:B7 is associated with IP 192.168.1.100 on port FastEthernet0/1 in VLAN 1 with a lease time of 86400 seconds (24 hours).Architectural foundation: The DHCP Snooping binding table is the foundation for advanced Layer 2 security. Without it, you cannot implement Dynamic ARP Inspection (DAI) to prevent ARP cache poisoning or IP Source Guard (IPSG) to prevent IP spoofing.

Related Network Labs
Continue your network simulation practice with these recommended labs.
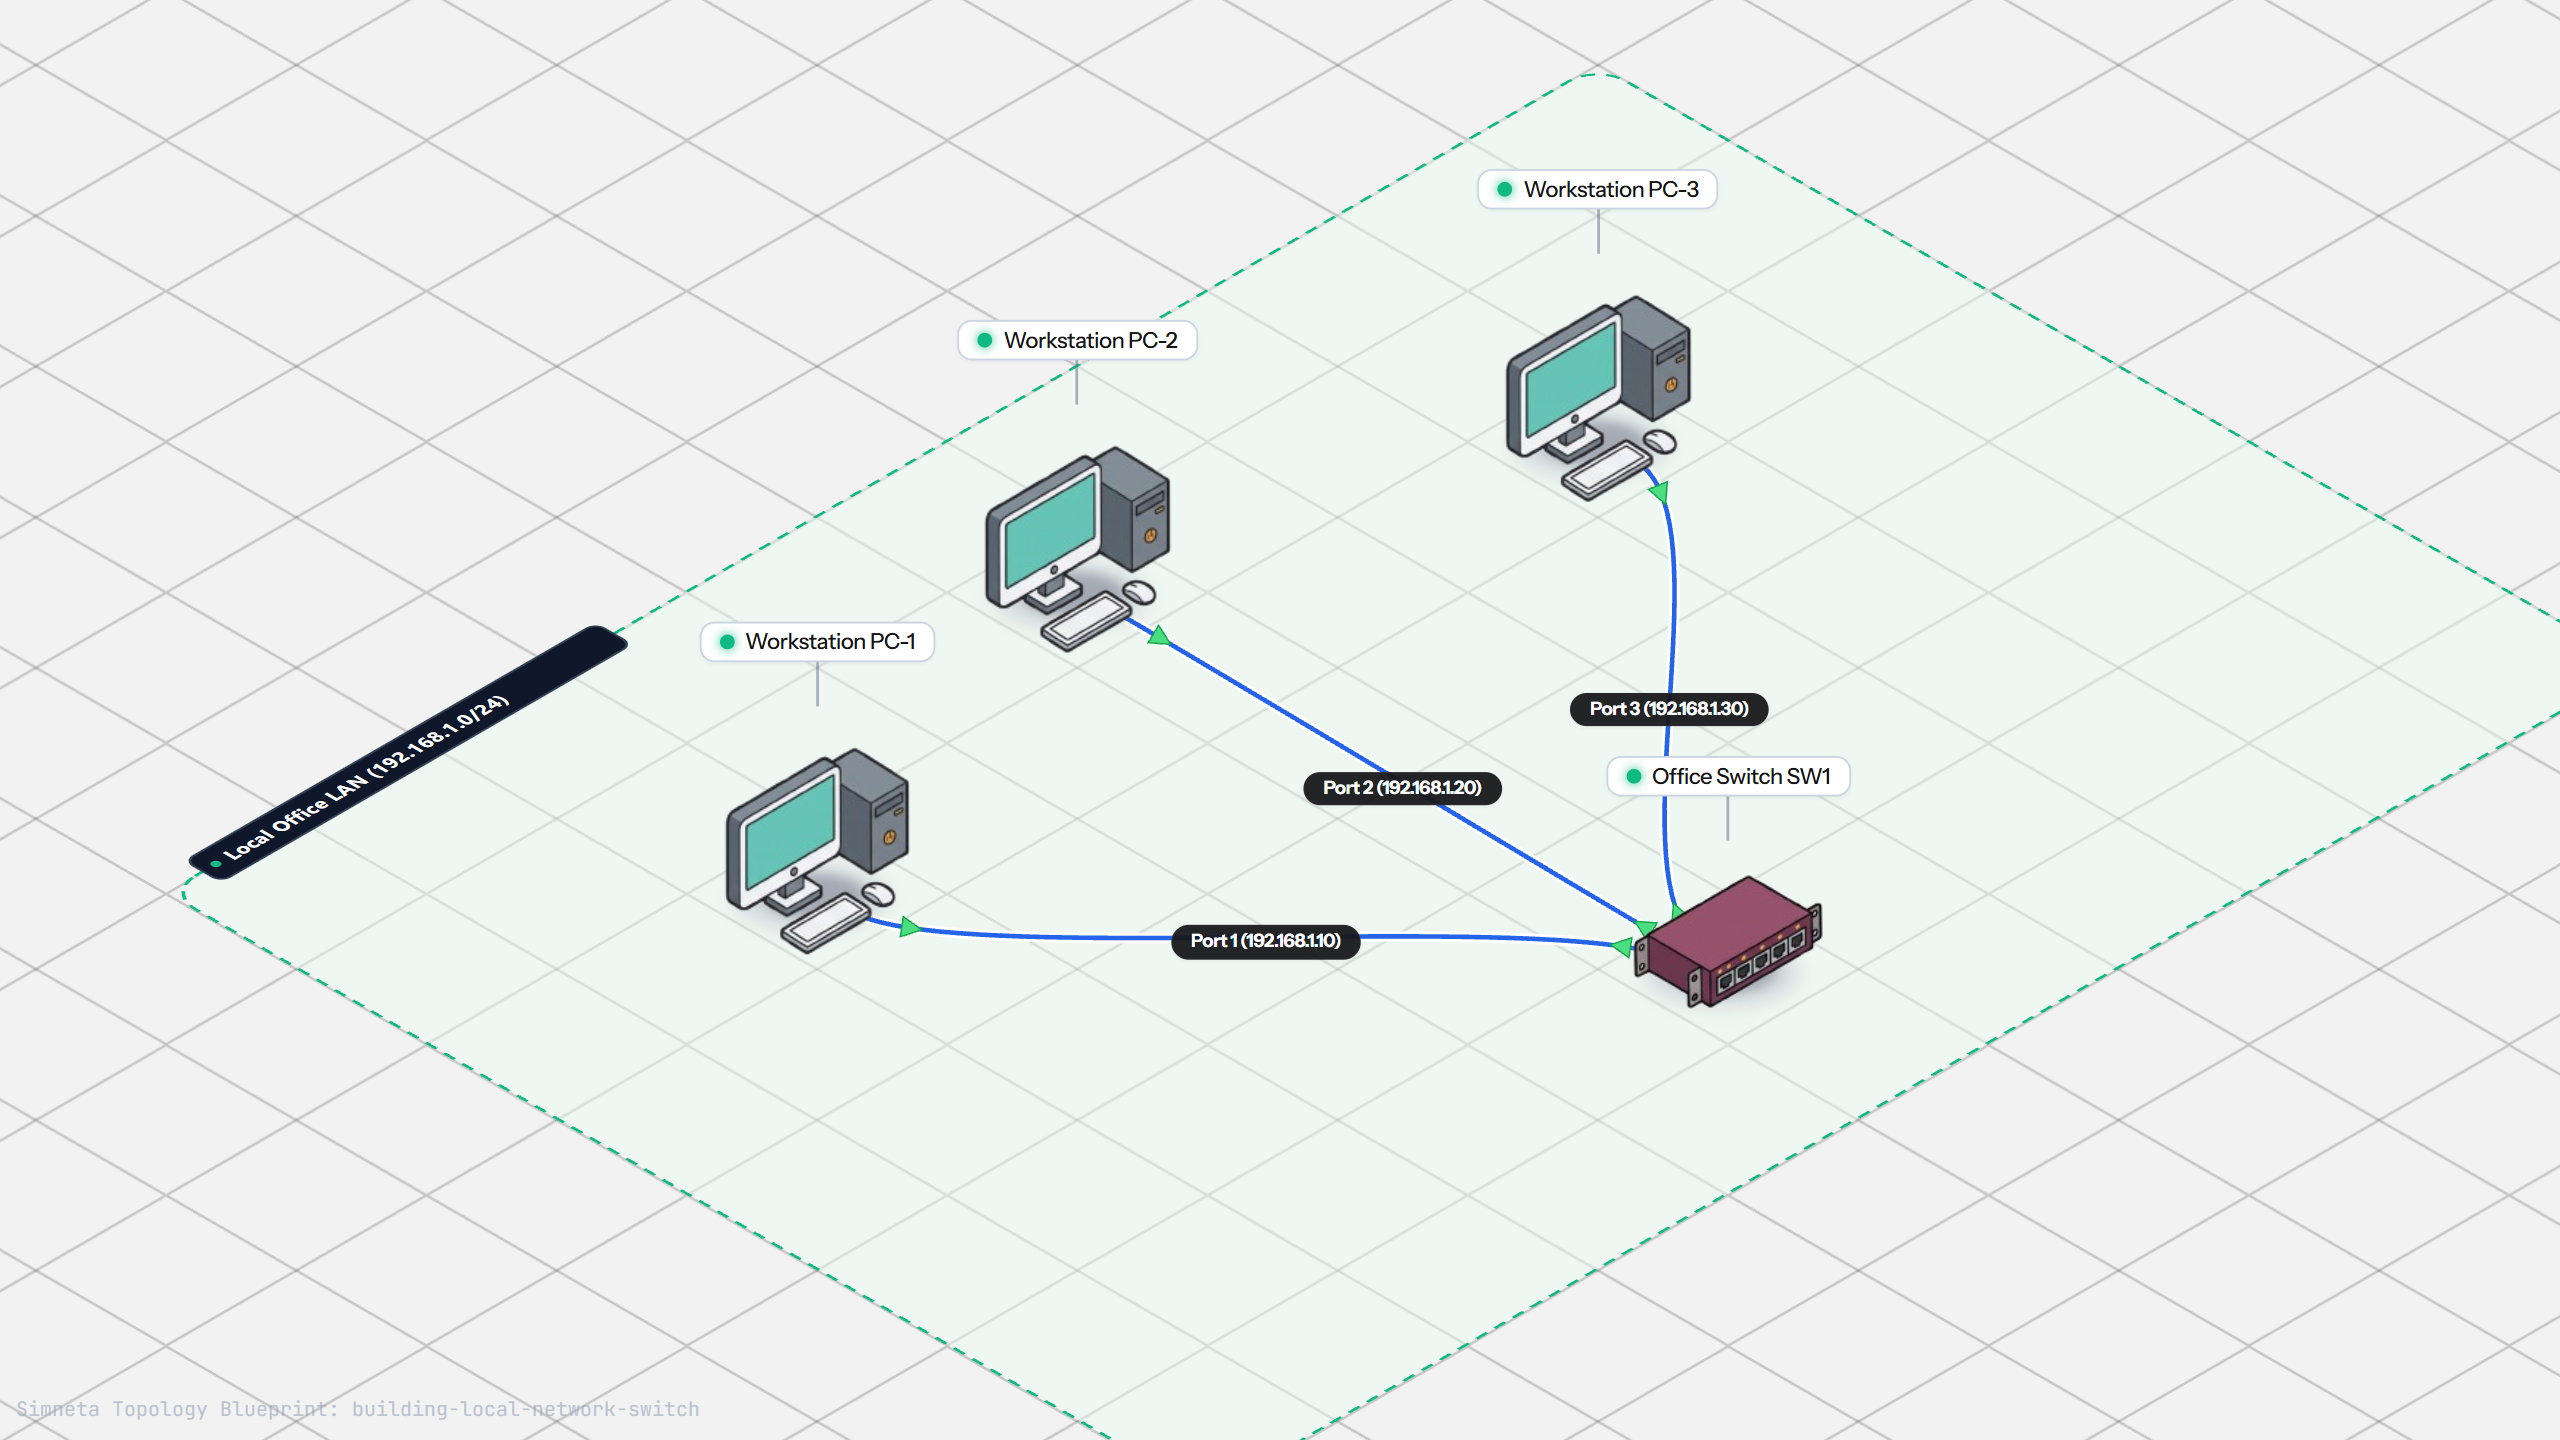
Building a Local Office LAN with a Switch
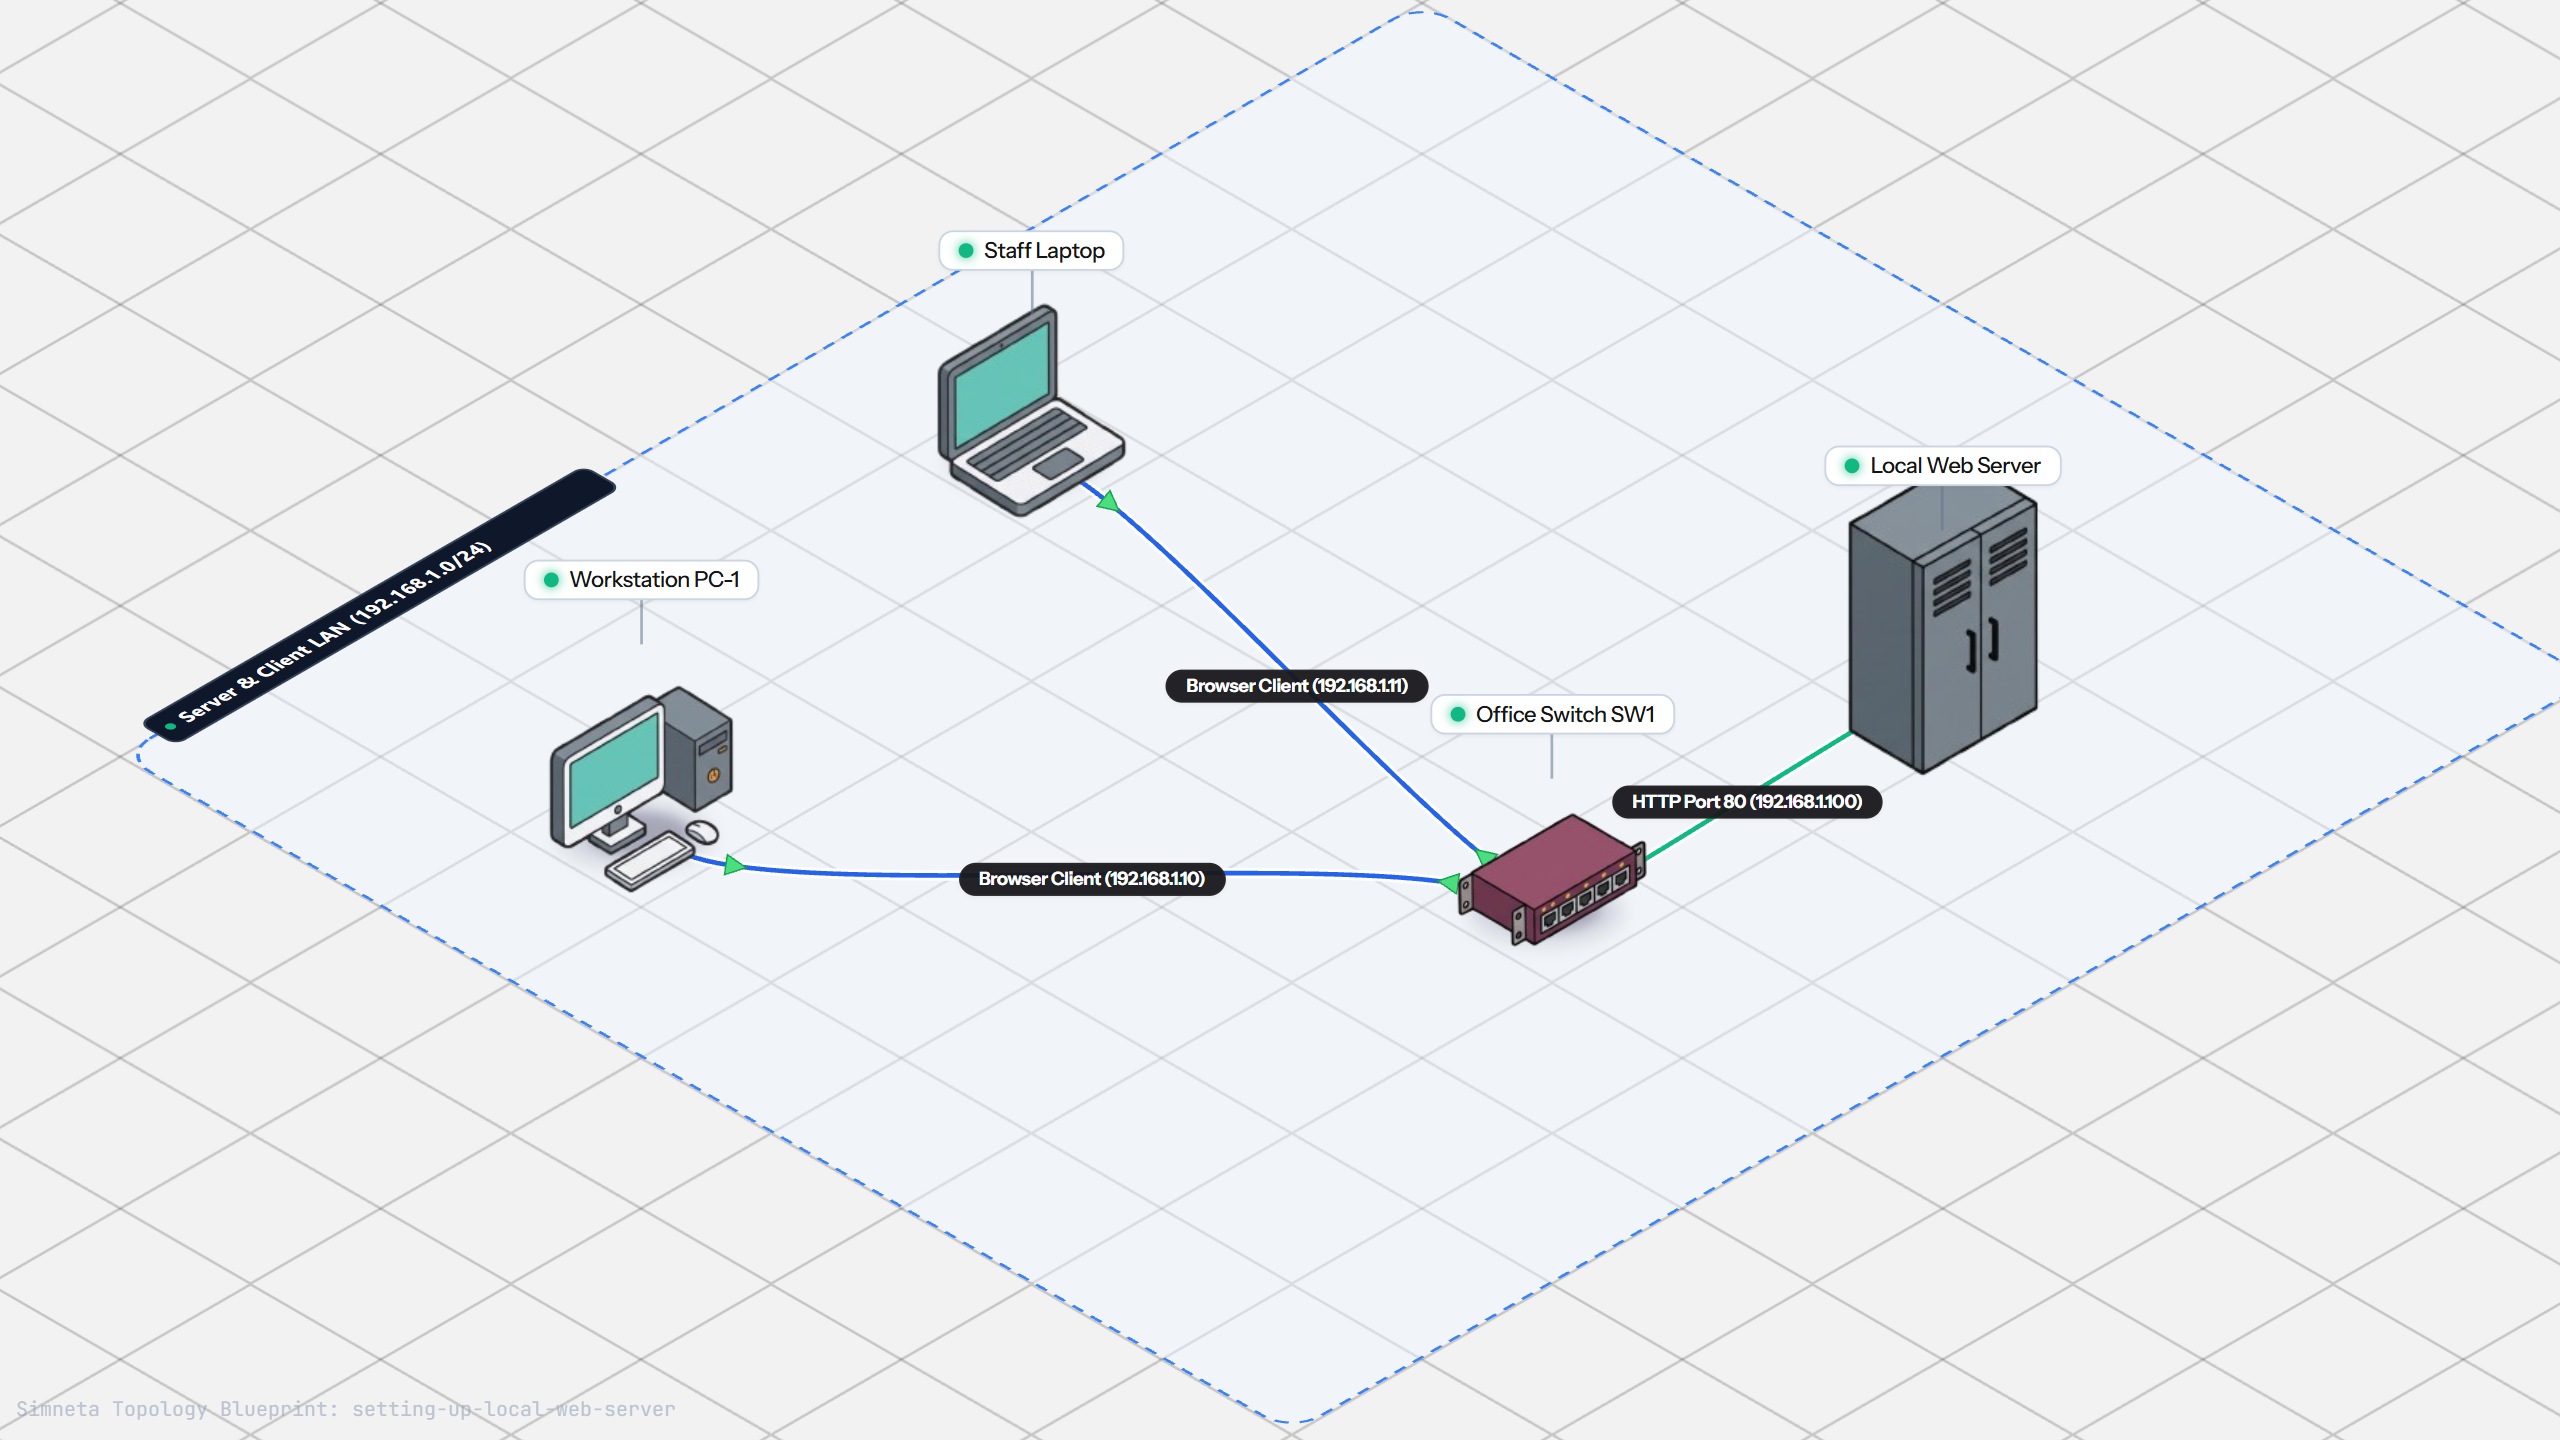
Setting Up a Local Web Server
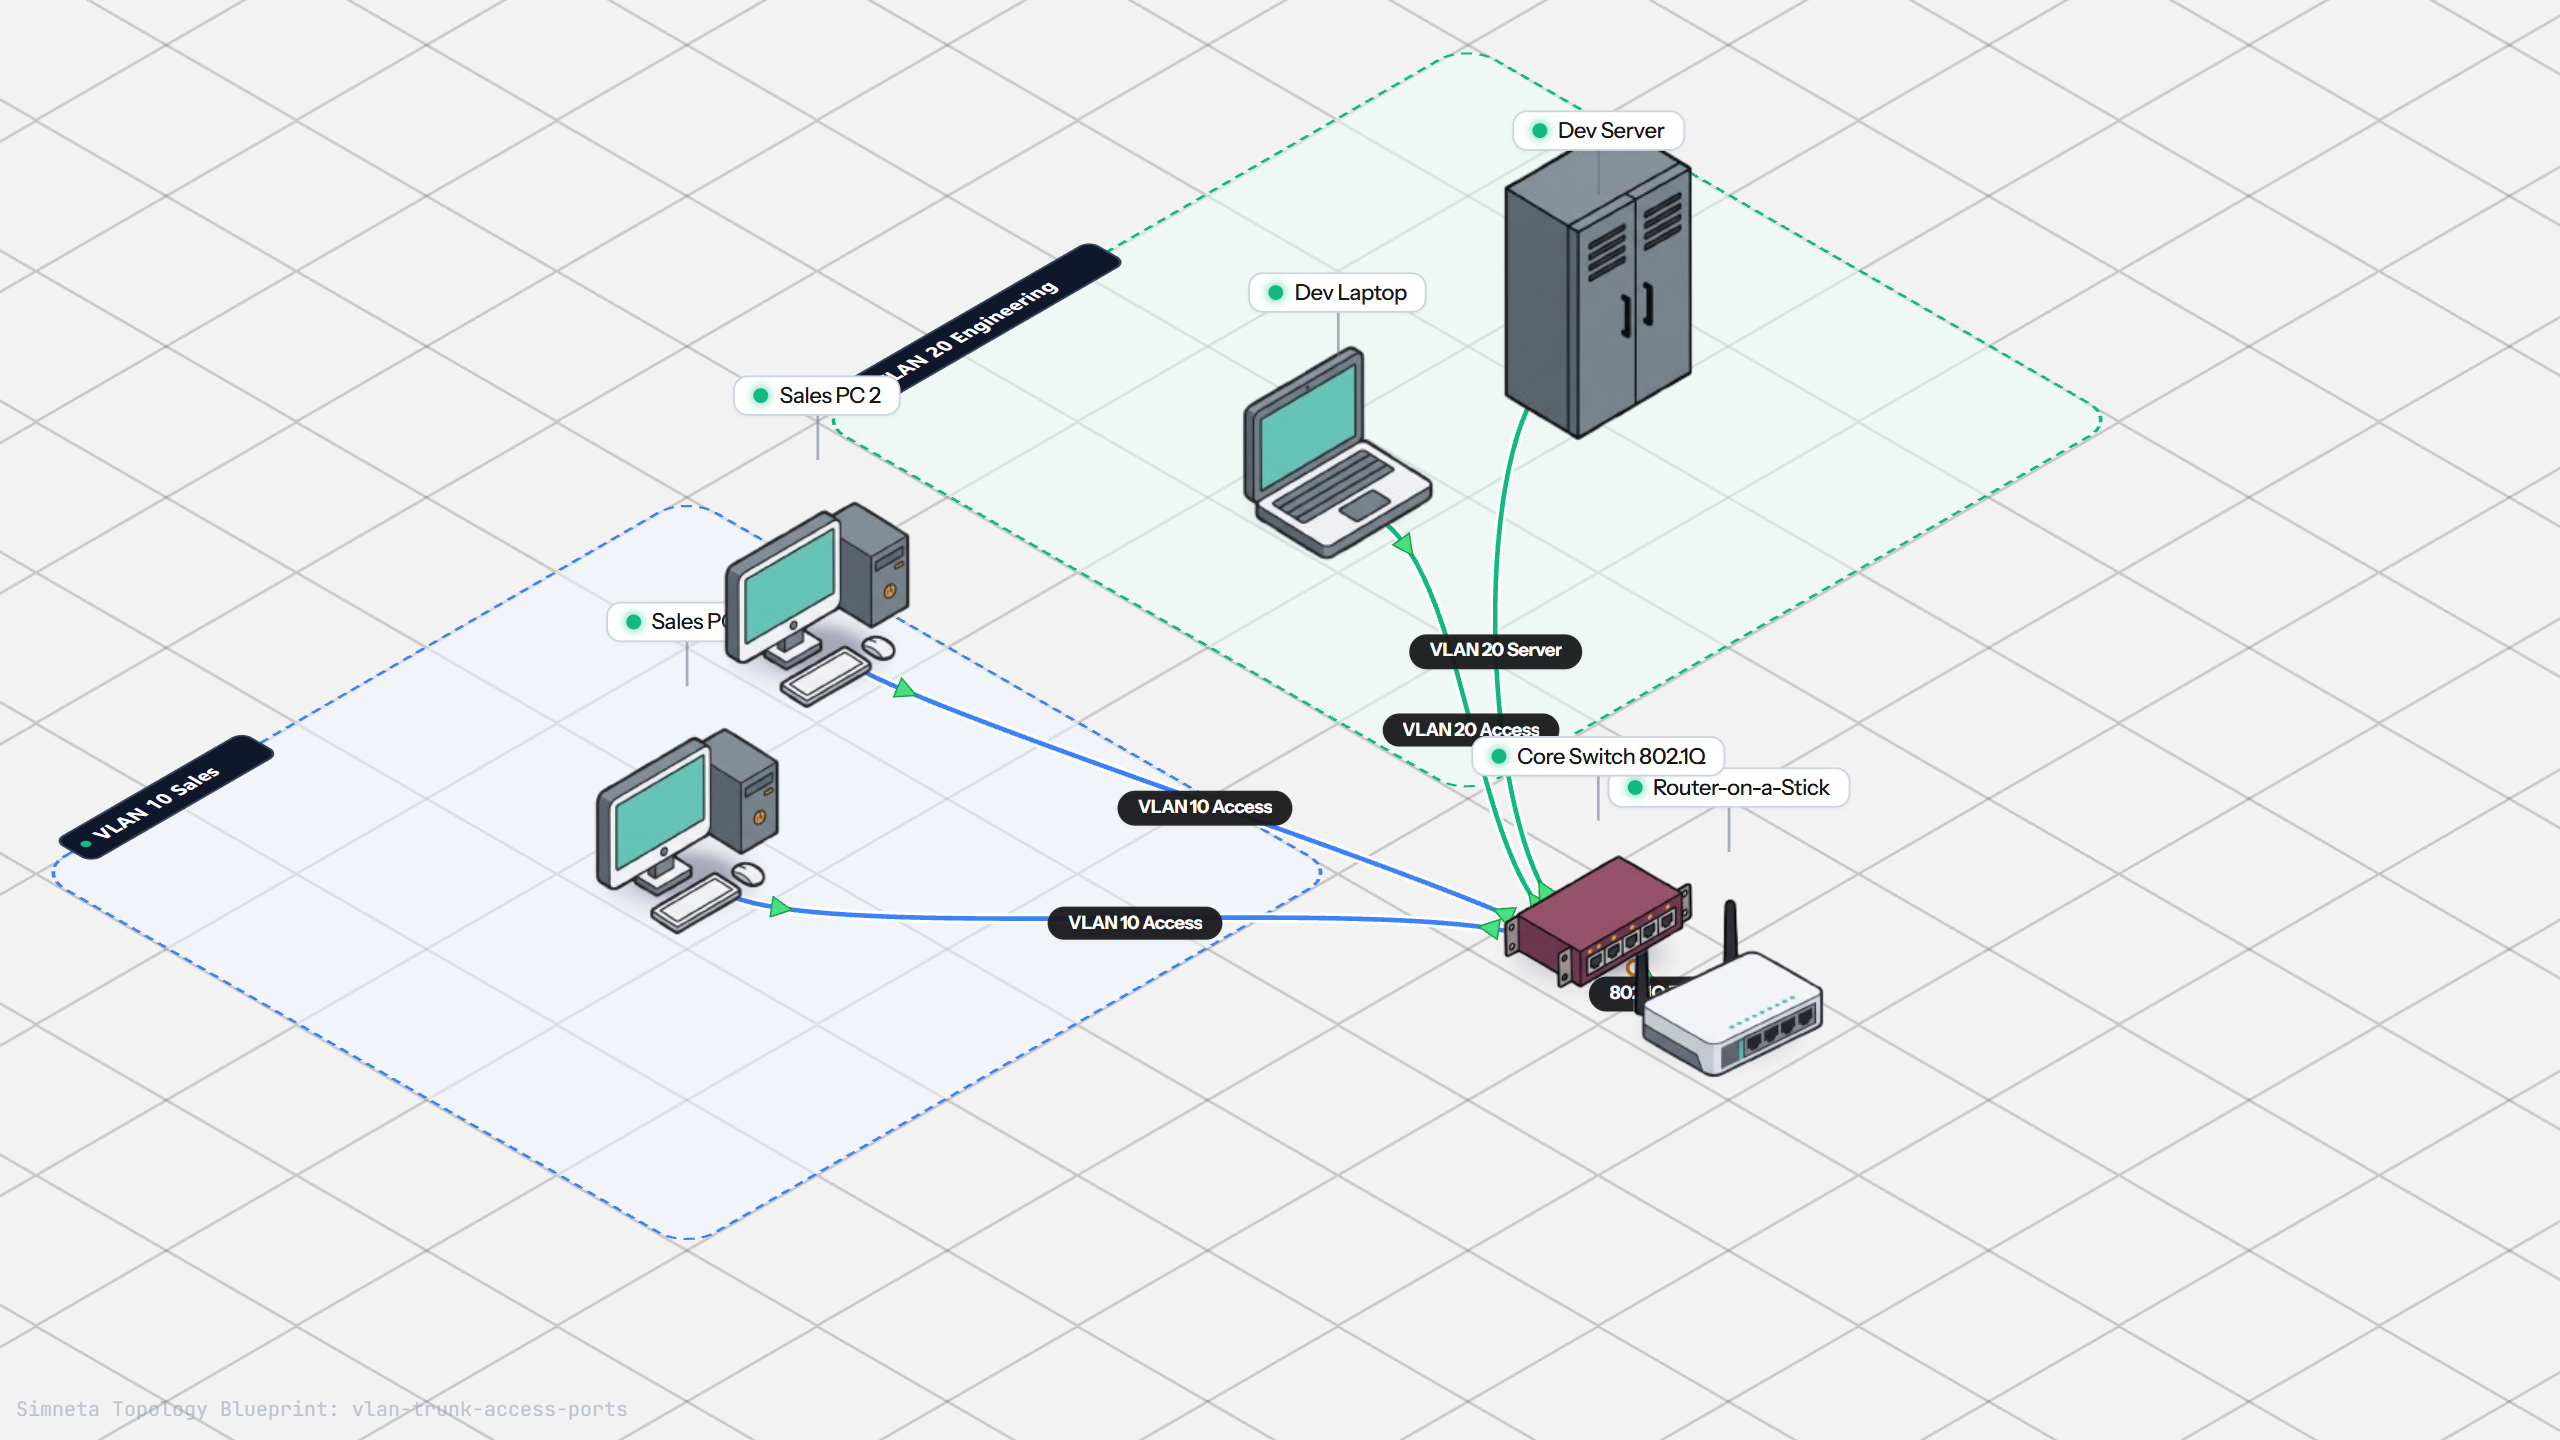
VLAN Trunking with 802.1Q
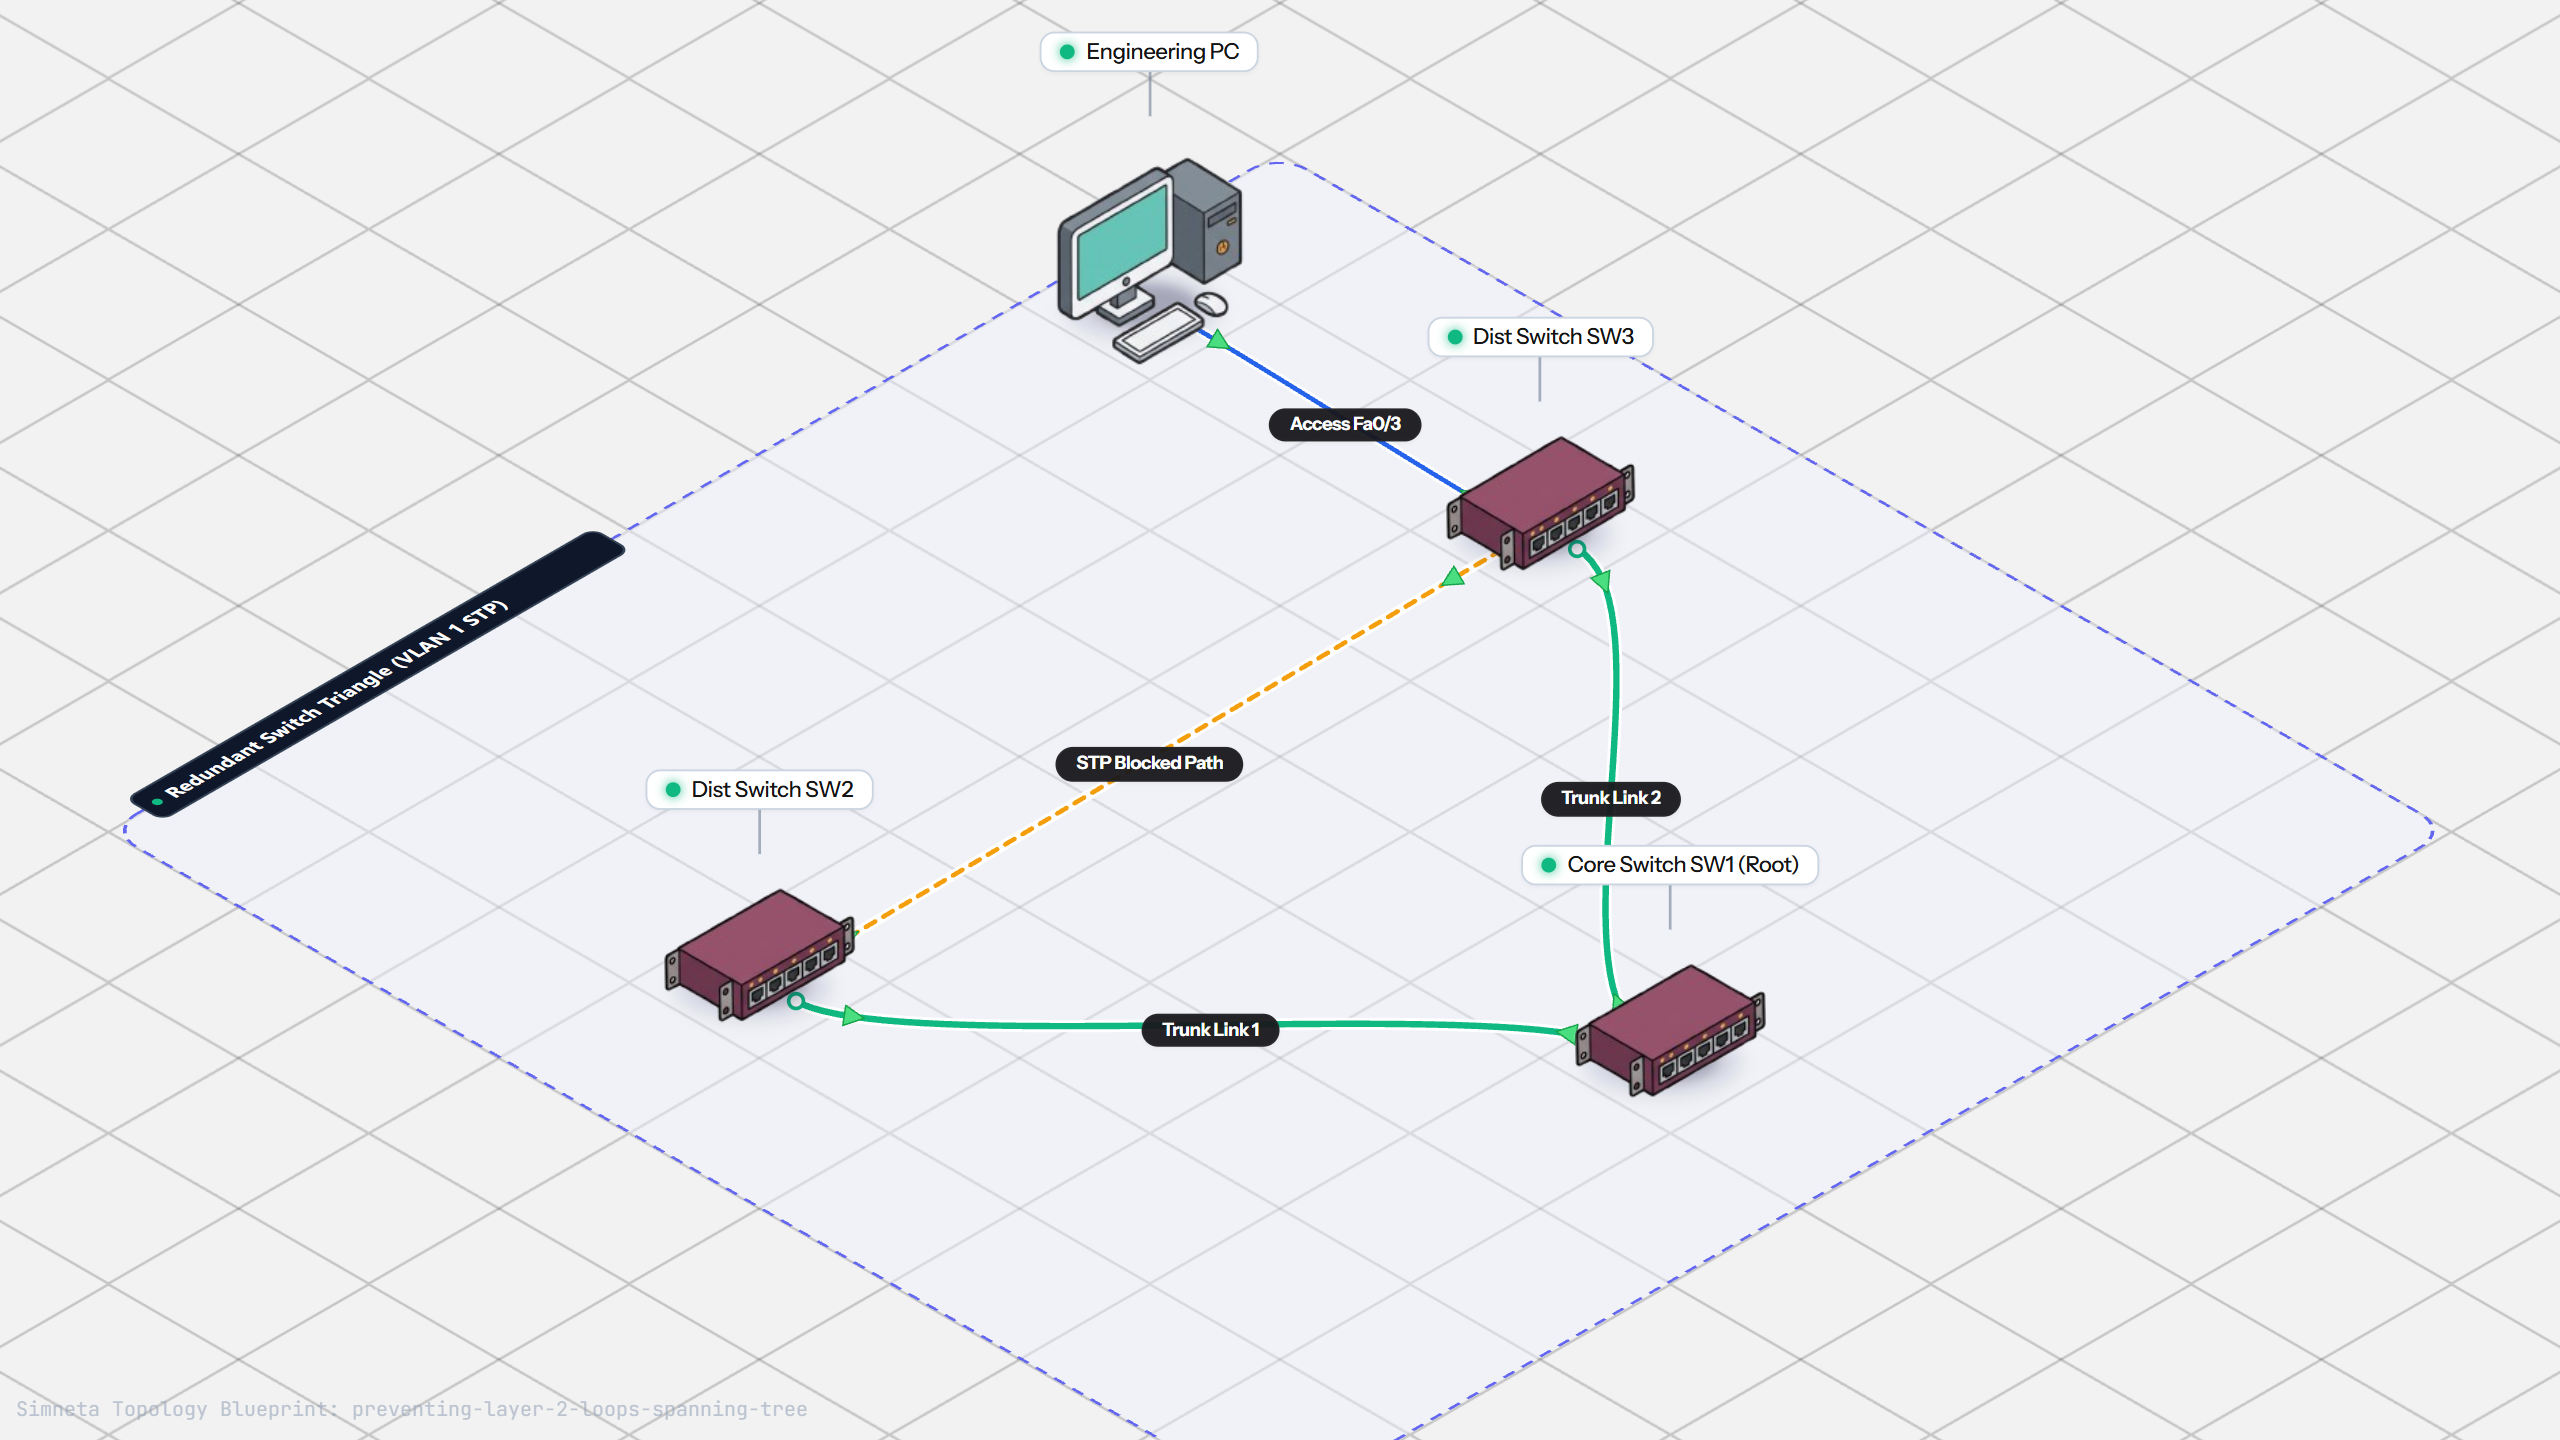
Preventing Loops with Spanning Tree
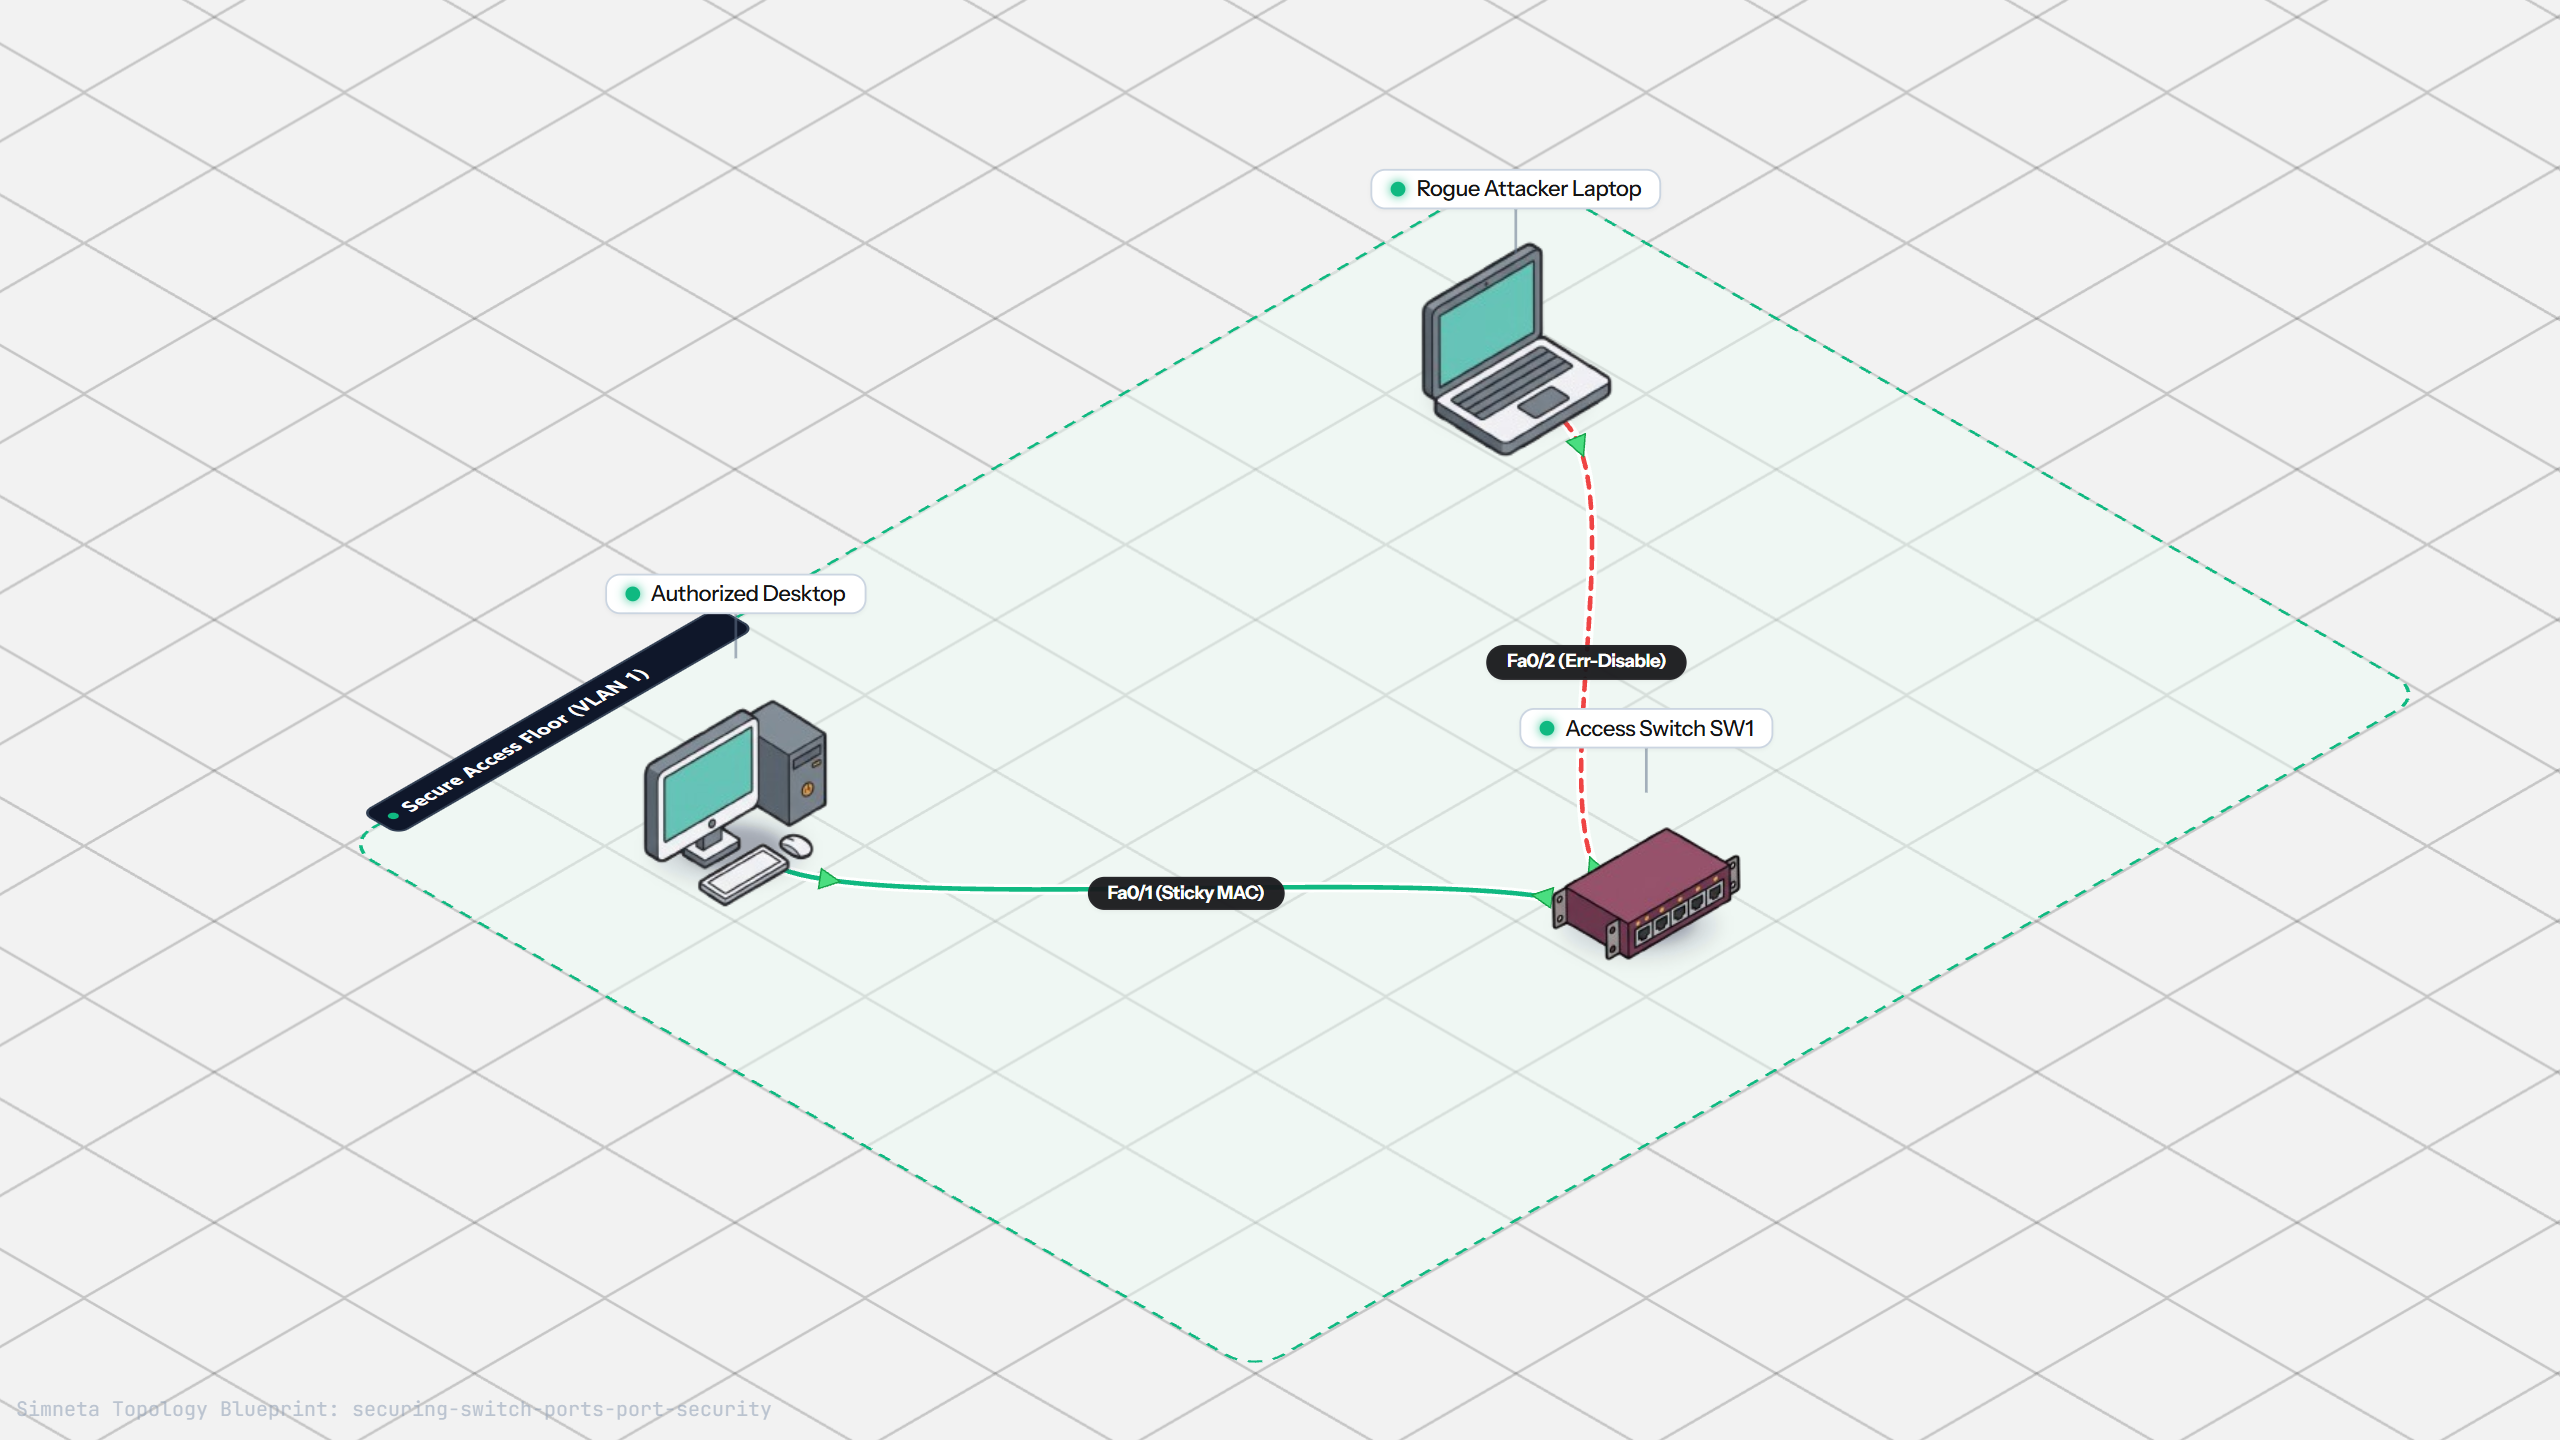
Securing Switch Ports with Port Security
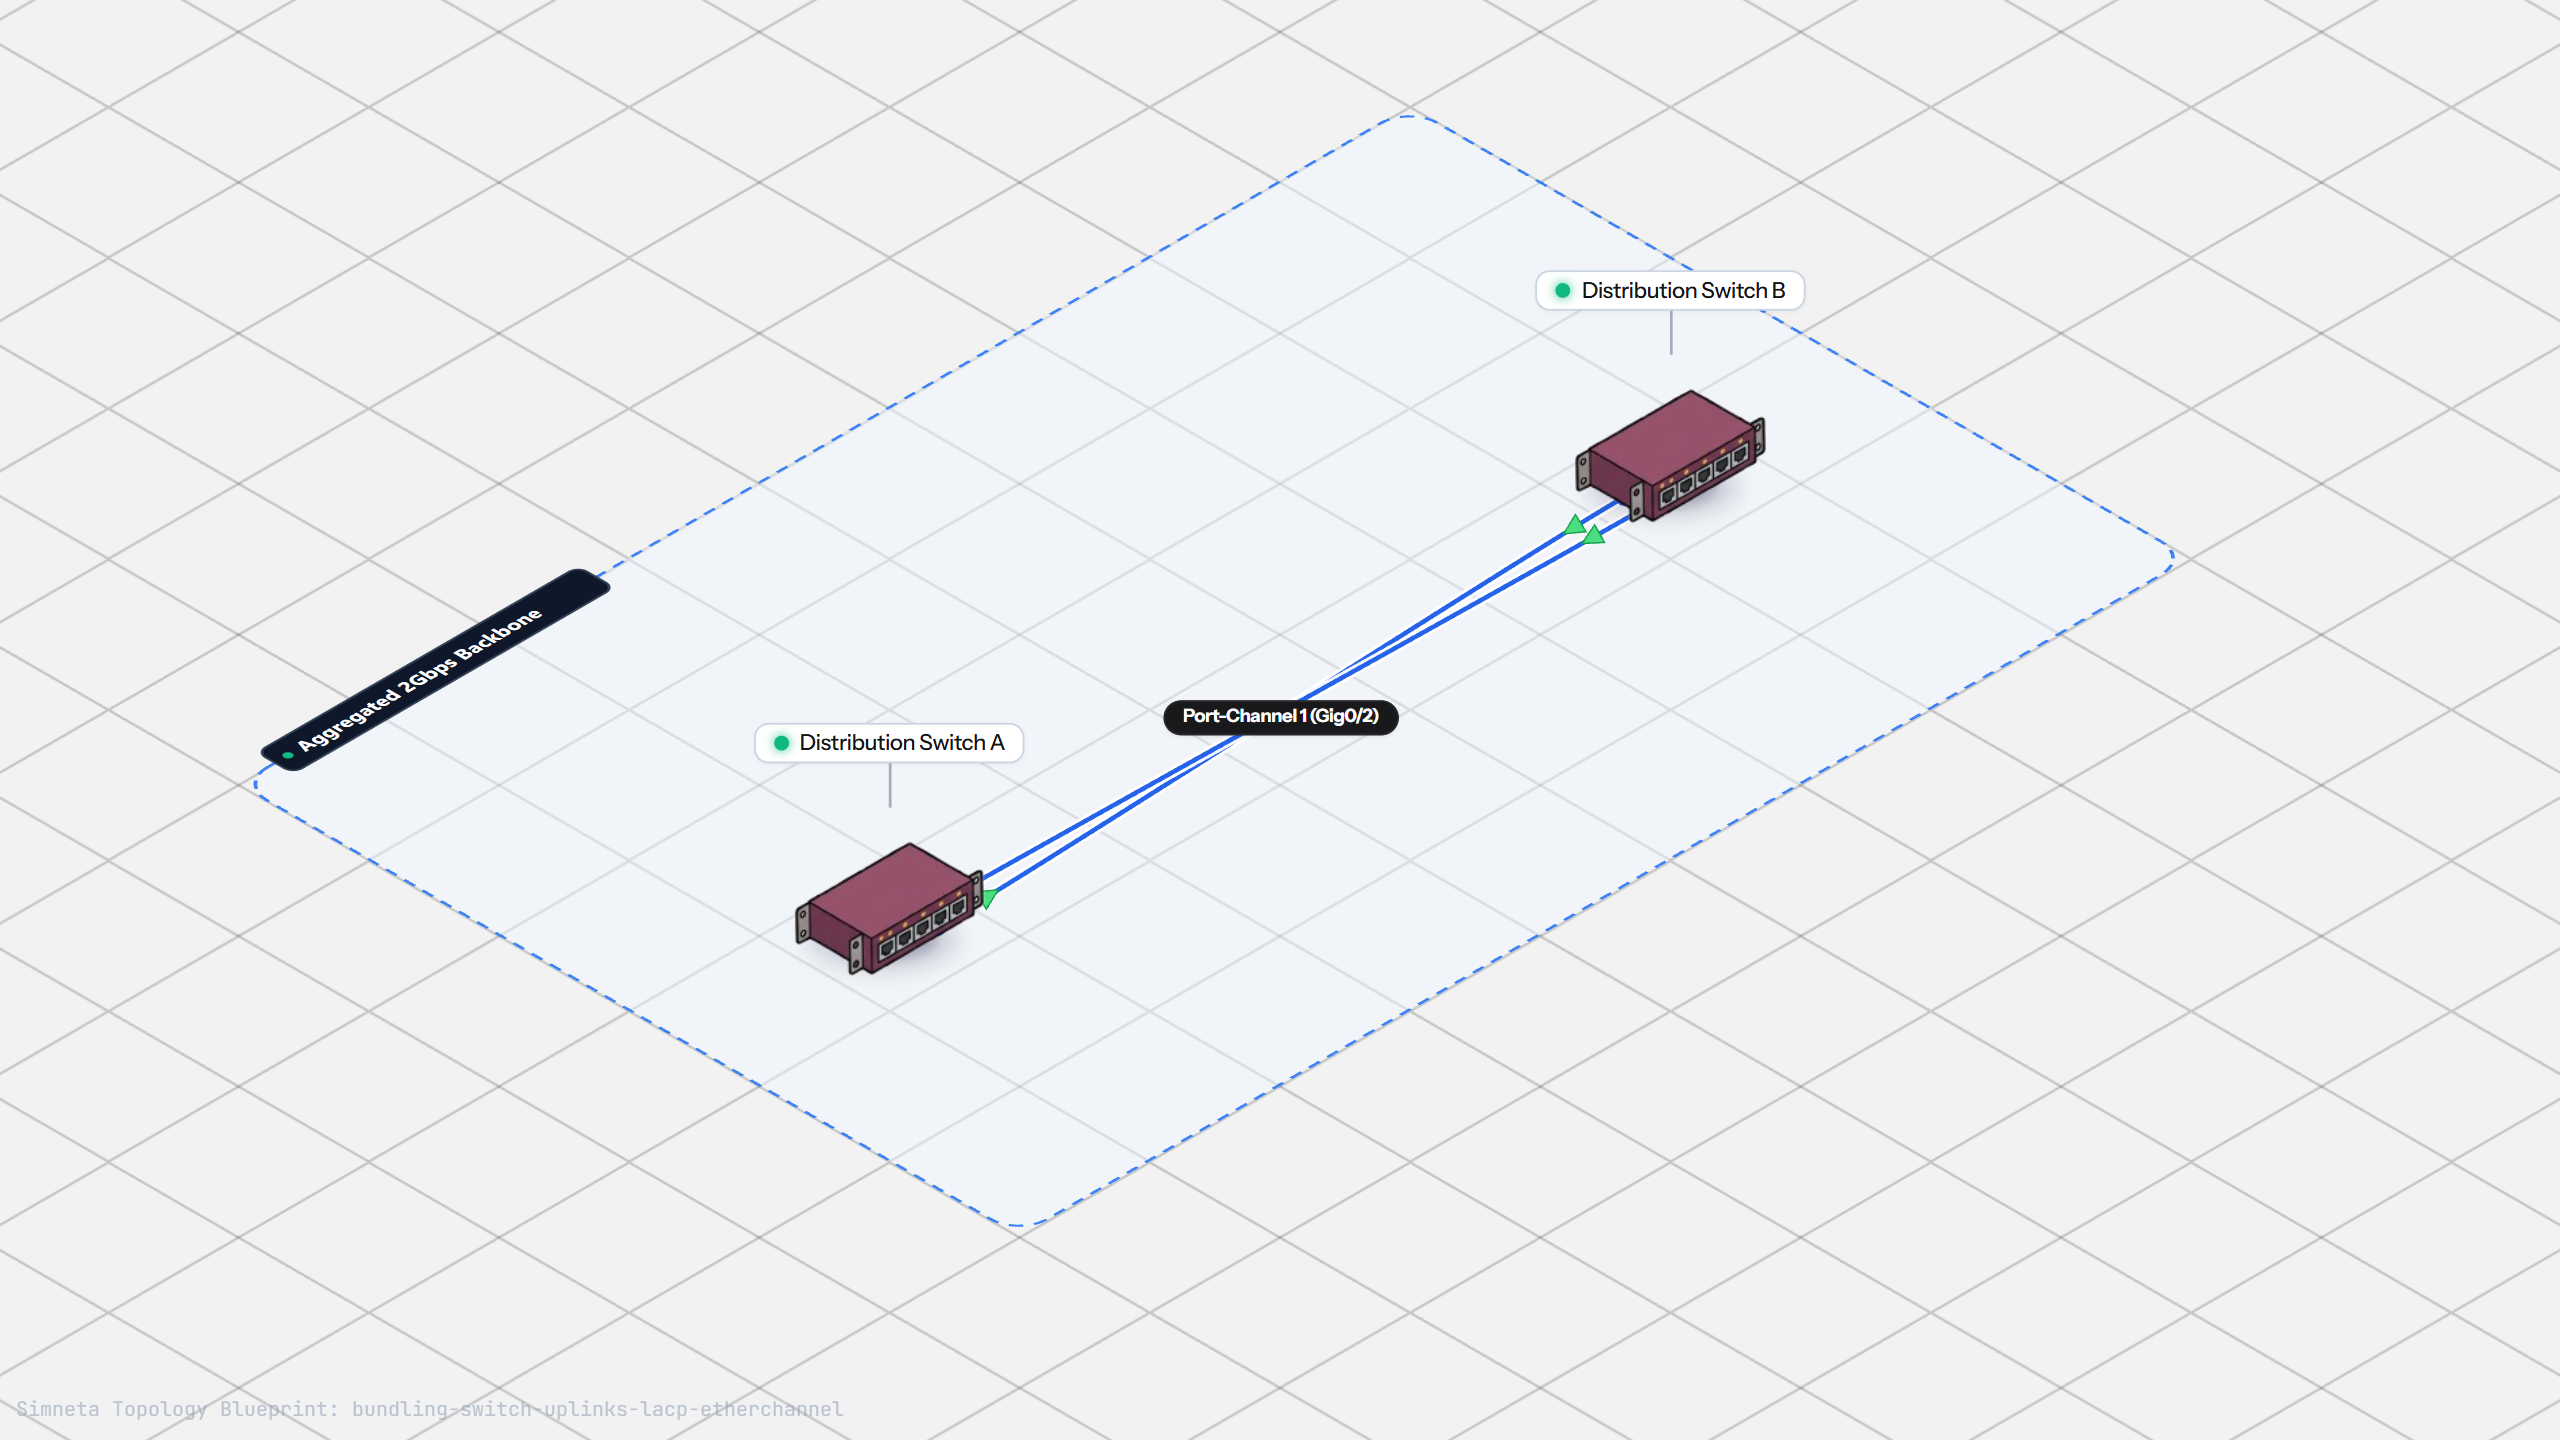
Bundling Switch Uplinks with LACP EtherChannel
Inter-VLAN Routing with Router-on-a-Stick
Dynamic Routing with Single-Area OSPF
Gateway Redundancy with HSRP Failover
Filtering Traffic with Extended ACLs
Connecting LAN to Internet with NAT
Resolving Domain Names with Local DNS
Connecting Two Switches with an Access Uplink
Configuring Static IP on Workstation
Testing Reachability and Latency with Ping
Inspecting ARP Cache Tables
Setting Up DHCP Static Reservations
Connecting Routers with /30 Subnet
Configuring Default Static Route to ISP
Blocking Ping with Standard ACL
Port Forwarding for Web Servers
Fixing Default Gateway Misconfigurations
Discussion & Community Notes
Ask questions, share configuration tips, or discuss this laboratory topology.